How To Set Up and Use MonoGame
To develop a game using MonoGame in practice you only need the Dotnet (or .Net) package and the MonoGame Templates.
However, writing your game using a… notepad it’s not very practical and for this reason it is common to use a more appropriate environment such as a Code Editor (like VSCode) or an IDE (like Visual Studio or JetBrains Rider).
I’ll help you do both: Install dotnet, install the MonoGame templates, install (only) Visual Studio Code (or simply VSCode), instantiate a MonoGame project and run it, so… Let’s go!
In this tutorial i will only cover the installation process in a Windows environment, but soon i intend to cover the process in a Linux distribution, so… just wait a bit 🤏😉
MonoGame
Installing .Net Core SDK
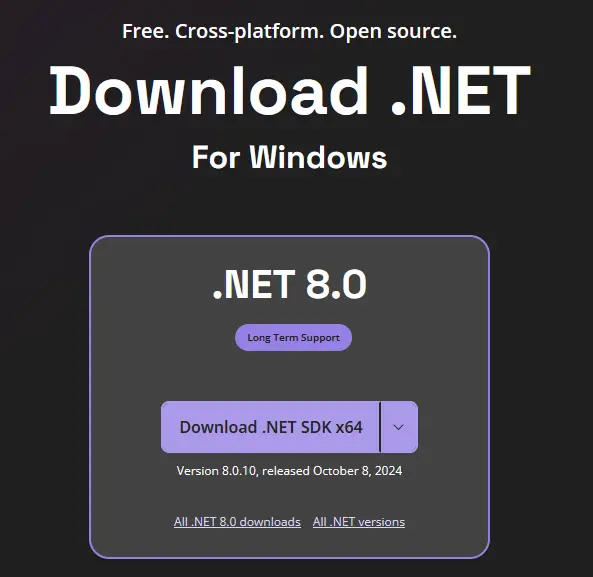
Access dotnet.microsoft.com/en-us/download and download the latest version of the SDK.
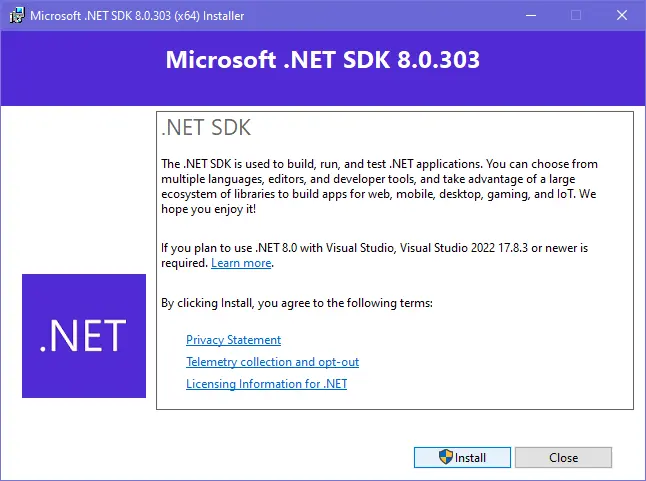
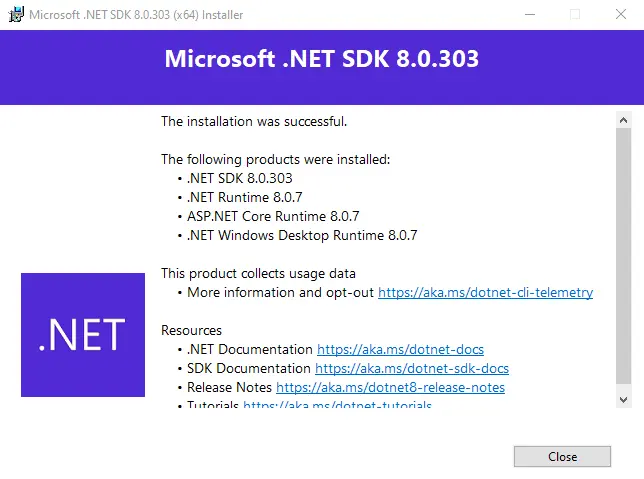
After the download is complete, install it like any other software:
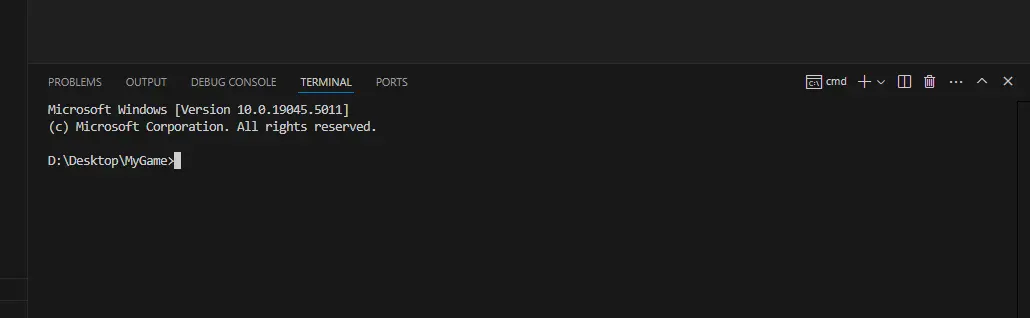
If everything goes well so far, open a cmd (command prompt) or a powershell and try running dotnet --version
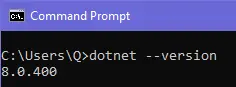
If you see any number like above, it means dotnet has been installed successfully.
Installing MonoGame Templates
According to the official MonoGame documentation this is the command you need to run to install the templates: dotnet new install MonoGame.Templates.CSharp
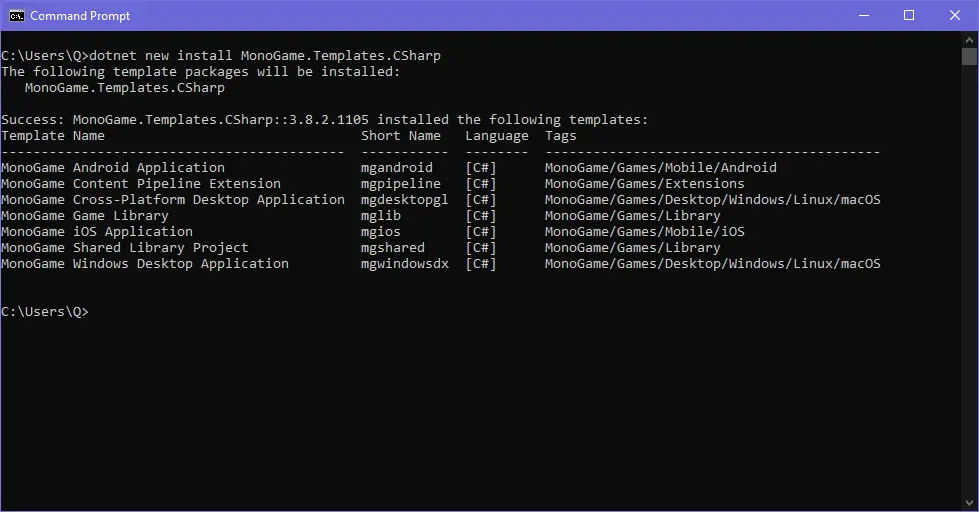
Pay attention to the Short Name’s because they are what we use to create/instantiate a MonoGame project.
So far we have everything we need to create and run a MonoGame project, but as i said before: writing your game using a notepad would be… crazy, then stay with me a little longer.
Installing The Code Editor
I will give preference to VSCode because it has greater integration with the dotnet ecosystem and because it is simple to use and completely free.
Go to code.visualstudio.com and download the code editor.

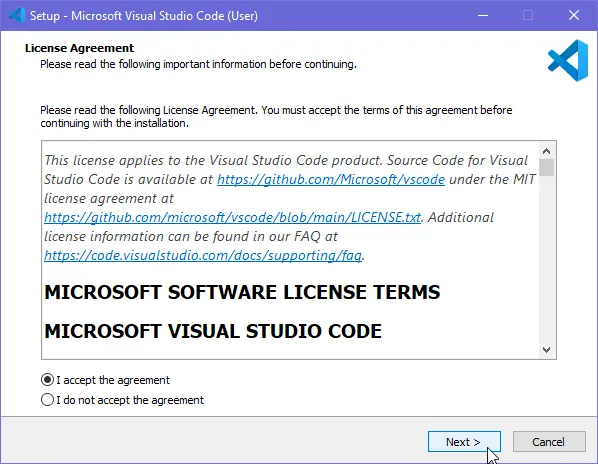
After the download is complete, run the installer, accept the terms and proceed:
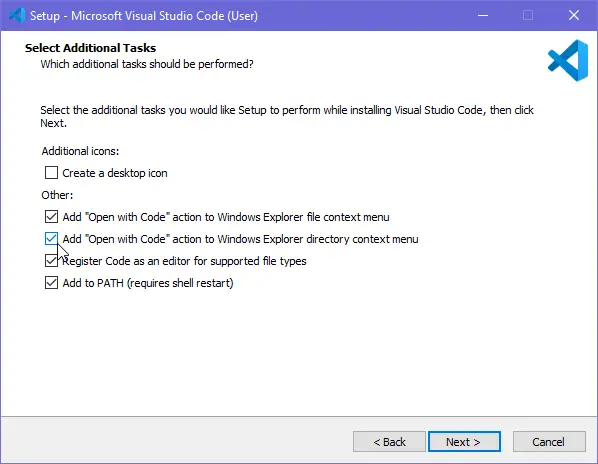
On the Select Additional Tasks screen, select both checkboxes that say Open with Code… then proceed and complete the installation:
After the installation is complete, open the editor and expand the Extensions Panel:
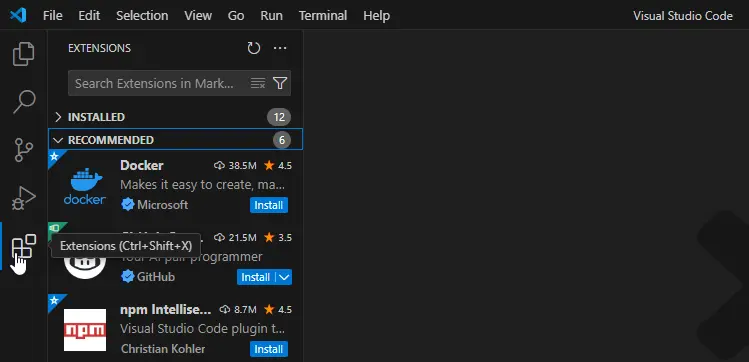
Search for the term C# and install the two extensions shown below:

- C# Dev Kit: install two other extensions that will help you during development process with Autocomplete, a native environment for running and debugging, and more.
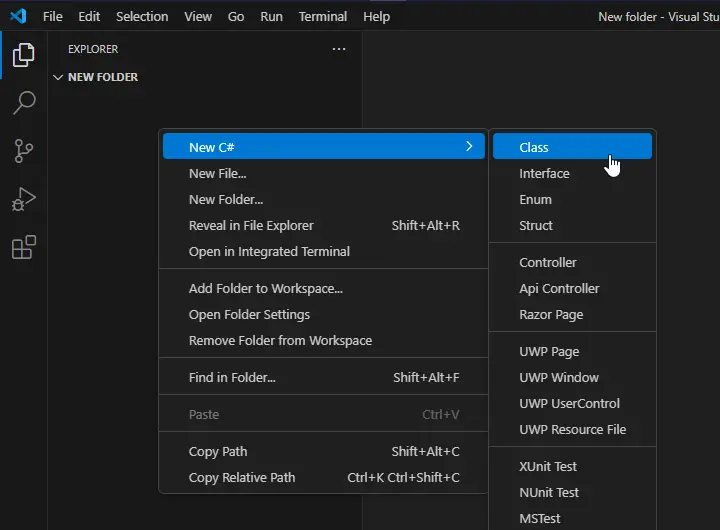
- C# Extensions: add some features in the file explorer to help you create dotnet (or C#) files:
Ok, now you have the .Net SDK, MonoGame Templates and a proper code editor to write the game of your dreams.
Creating a MonoGame Project
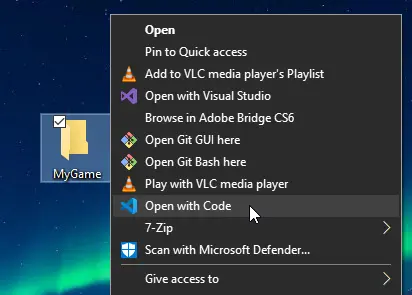
Create a folder anywhere on your system and open vscode in it:
When the editor opens, in the menu bar click on Terminal and then on New Terminal:

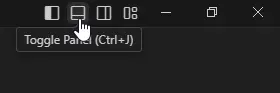
or click the second icon (from left to right) of the four icons next to the minimize button:
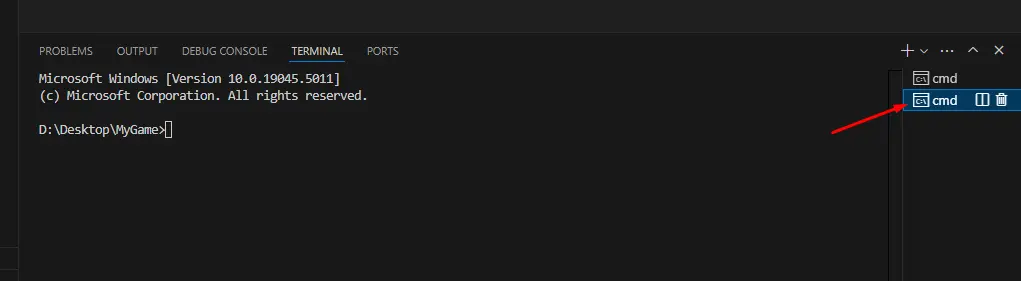
Both will open a terminal.
The difference is that from the menu bar you will actually create a new terminal, which means that if you already have a terminal open, you will create a second terminal:
and through the icon next to the minimize button you simply expand or hide the terminal panel.
If you haven’t created any terminal before clicking this button a new terminal will be created automatically.
In the image above you can see that all terminals were initialized with a cmd as shell (don’t worry if the shell is different on your system).
In this specific case, we can do almost everything related to MonoGame with cmd.
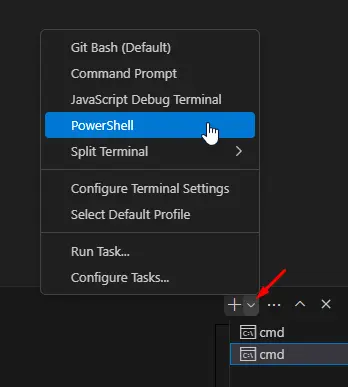
However, if you want to switch to another shell just click the button with a downward-pointing arrow on the right side of the button with a plus sign and in the panel that should appear, choose the shell you want:
To create a MonoGame project it doesn’t matter which shell you choose, as long as it has access to your system’s environment variables and dotnet is exposed in those variables.
Try running
dotnet --versionin your terminal, if you get a number as a result then everything is ok.
In the terminal, type dotnet new list and press Enter, you should see a large list of all the templates available to instantiate as a result.
Scroll up the result and see:
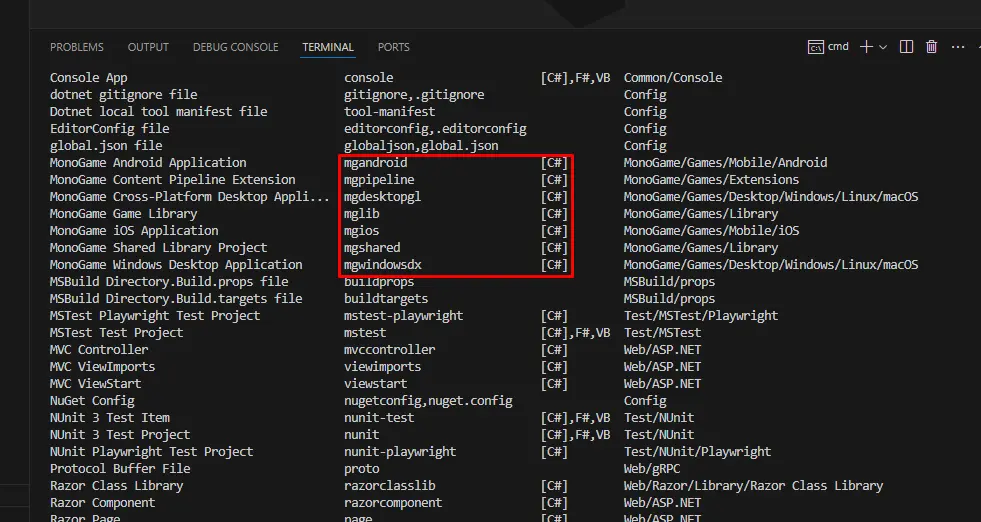
all these Short Name’s are templates we can use to instantiate a project.
I will focus only on the desktop templates which are: mgdesktopgl and mgwindowsdx
- mgdesktopgl: will use OpenGL as backend
- mgwindowsdx: will use DirectX 9 (or newer) as backend
The difference between the two is that DirectX is exclusive to Windows, meaning your game may not be compatible with Linux and/or Mac, but the template with OpenGL will be.
However, just because the version with OpenGL is compatible with all the desktop platforms doesn’t means that you should choose it for all scenarios.
On Windows OpenGL is much more slower compared to DirectX and if for example you are developing a game thinking specifically for Windows (and/or Xbox) then you should use DirectX, it will have much more performance compared to OpenGL, otherwise use OpenGL.
For now, i will use the template with OpenGL.
Type dotnet new mgdesktopgl (or dotnet new mgwindowsdx to create with DirectX) and press Enter:

If everything goes well so far, then you have just created a project with MonoGame:
Running A Project
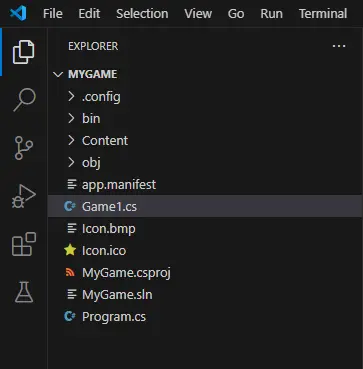
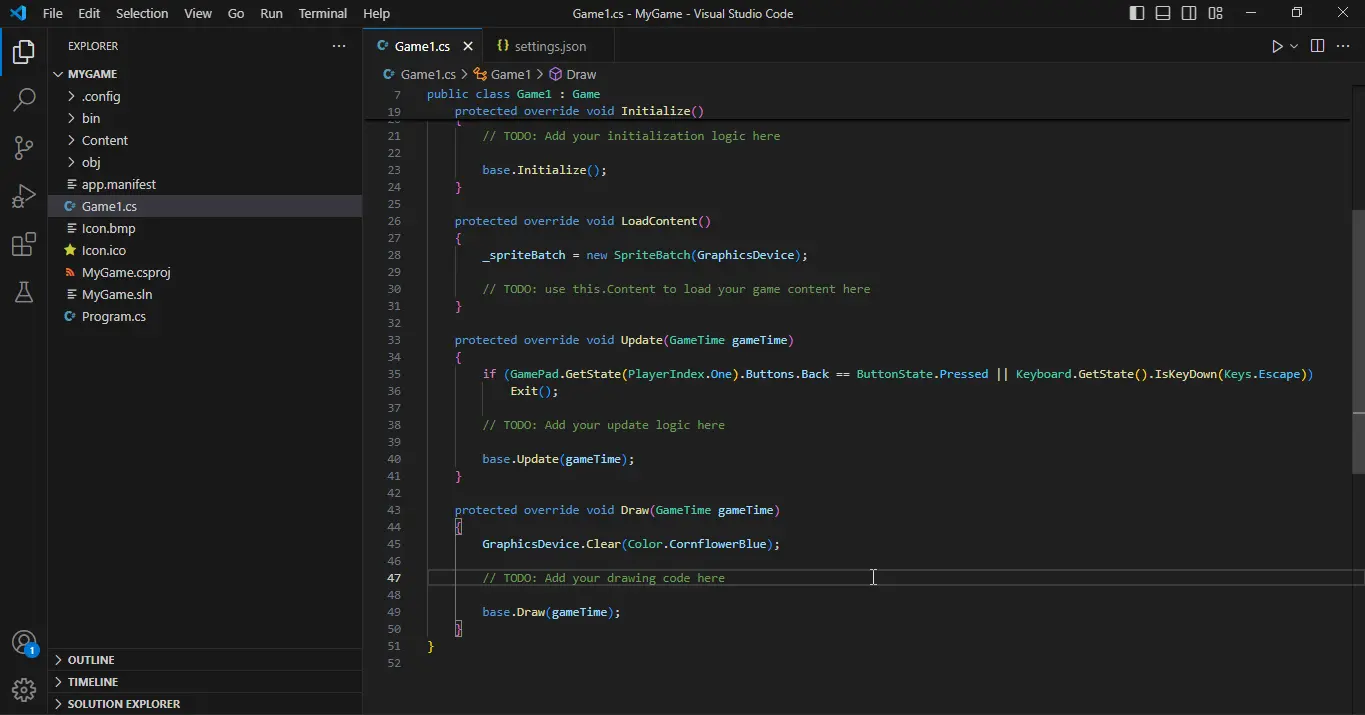
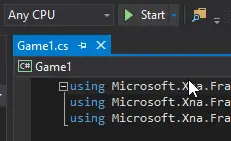
Open the Game1.cs file:
There are three ways to execute this project:
1. Running from Menu bar
In the menu bar, click Run and choose one of the two options:

- Start Debugging: It will start your project in debug mode, which is very useful for checking for errors during development, but is a bit slower (usually on the first start).
- Run Without Debugging: It’s faster to start, but possibly if an error happens, like an exception being thrown, you probably won’t see it.
and in the following panel select C#:

and in the configuration panel the first and (probably) only option will be your own project, so select it:

2. Start button in the editor
If you look at the top right corner of your code editor you should see a small button with a triangle icon pointing to the right:

Click the down arrow to the right of the play button and select one of two options:
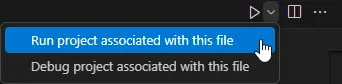
and the remaining process is similar as the first way to start your project.
If you just click the Play button without choosing any option, the first option to run will be Run project associated with this file which is the same as Run Without Debugging.
3. From command line
In the terminal, type and run dotnet build
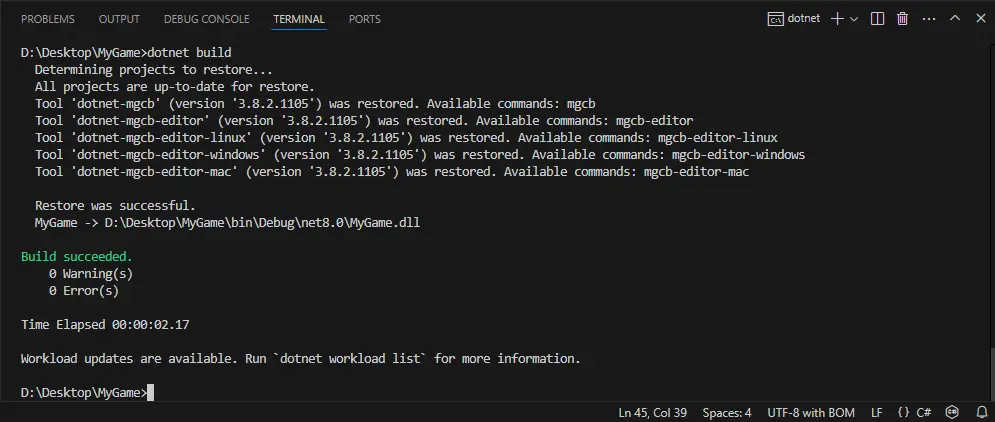
and if the build process goes well type and run dotnet run
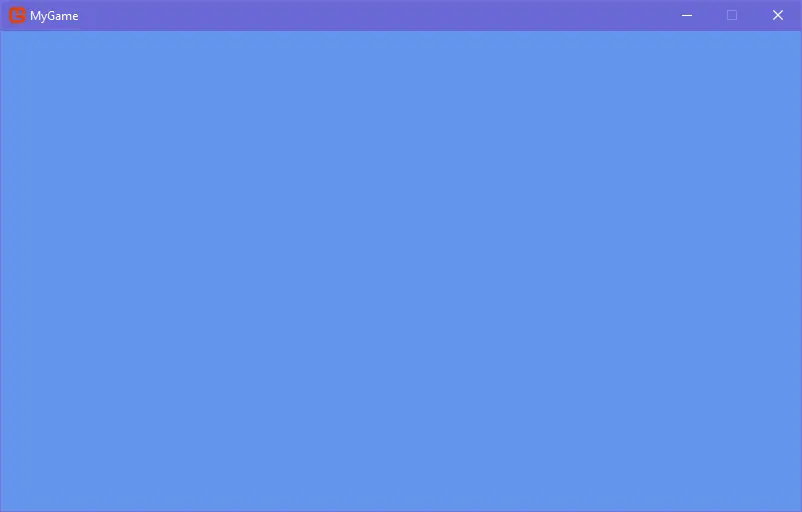
🎂 Congratulations, your project with MonoGame has been created, have fun.
Legacy MonoGame
If you are using an old version of Windows, you may not have access to the modern version of dotnet and therefore will not be able to use the modern MonoGame.
However, it is perfectly possible to use the MonoGame, but you need to use Visual Studio 2010, 2013, 2015 or 2017.
Installation
I assume at this point you already have Visual Studio installed (any of the versions i mentioned earlier) and the .Net Framework.
.Net Framework is only available on Windows environment, it is even possible to use a legacy version of MonoGame on Linux distros using the Mono and MonoDevelop, but since these tools are descontinued it will be very complicated to set up and use them, so i don’t intend to cover that. So unfortunately, if you have a very low-end hardware, but really want to develop games with MonoGame, you need a Windows environment.
Apparently, many versions of .Net Framework work fine with almost all versions of MonoGame, but still, install the lastest version via Windows Update (or Legacy Update) or via the redistributable package.
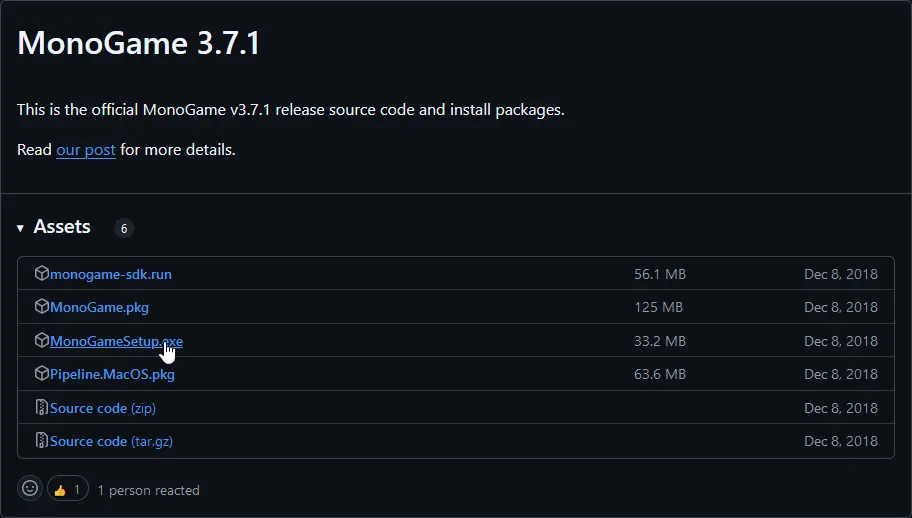
Access the release section of the MonoGame repository on Github
And download version 3.7.1 or earlier:
Open it and proceed with the installation:
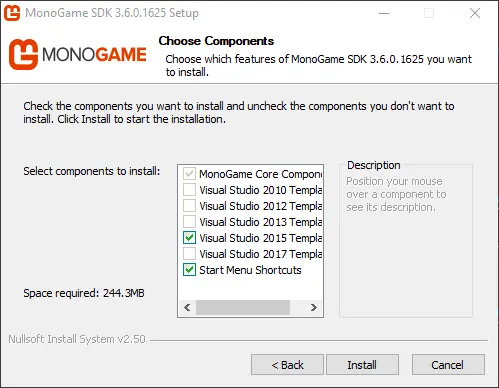
If you already have any version (or multiple versions) of the Visual Studio versions i mentioned earlier, the MonoGame installer will probably automatically recognize those installations and install the templates to those versions.
However, as you can see, you can choose which versions you want to install the templates and which ones you don’t by unchecking the checkboxes.
Finally, click Install.
Creating a Project
And again, at this point i am assuming you already have some knowledge in how to use Visual Studio.
In Visual Studio open the prompt to create a New Project and under Templates (or somewhere in your IDE) you should find all the MonoGame Templates:

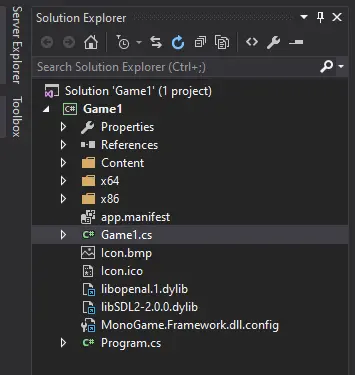
I’m going to create a project with OpenGL as backend… you will have a structure very similar to what we saw before with modern MonoGame:
Running the project
To run this project you can run it through the Debug menu on the menu bar:
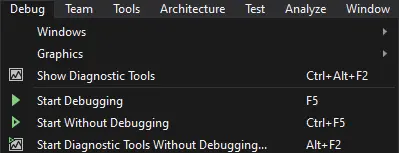
Or using the Start button on the toolbar (this button will start debugging by default):
Congratulations 🎉
If you’ve made it this far, then… Congratulations (again 😅).
I really appreciate your efforts to not give up on me.
If i helped you in any way, i ask that you share this post with more peoples who want to know how to get started in the world of game development.
If you have any further questions, please message me at @lyiar_u
See you later ❤